Saws
Hand saws are used to cut wood and metal down to size for a project. There is a huge variety of blades available with different numbers of teeth-per-inch, tooth rakes, and other characteristics that make each blade well suited for cutting certain materials. The saw terminology can be difficult to get around at first, but we want to introduce the basic saws that will be used to accomplish most prototyping work.
Types of Saws
Wood Saw - These saws are generally relatively aggressive and are often used for quick cuts on boards and plywood. On very long cuts, binding can be a problem. It takes some practice to follow the marked cut line well.
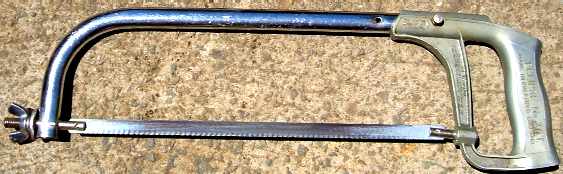
Hacksaw - Hacksaws are generally used to cut metal and plastic parts. For many lab applications, this will be the most common saw used. There are a variety of frames available, included small frameless blade holders for tight quarters work. Having multiple sizes of hacksaws and handles on hand is a must for any fabrication lab. The saw cuts on the push stroke, but is reversible.
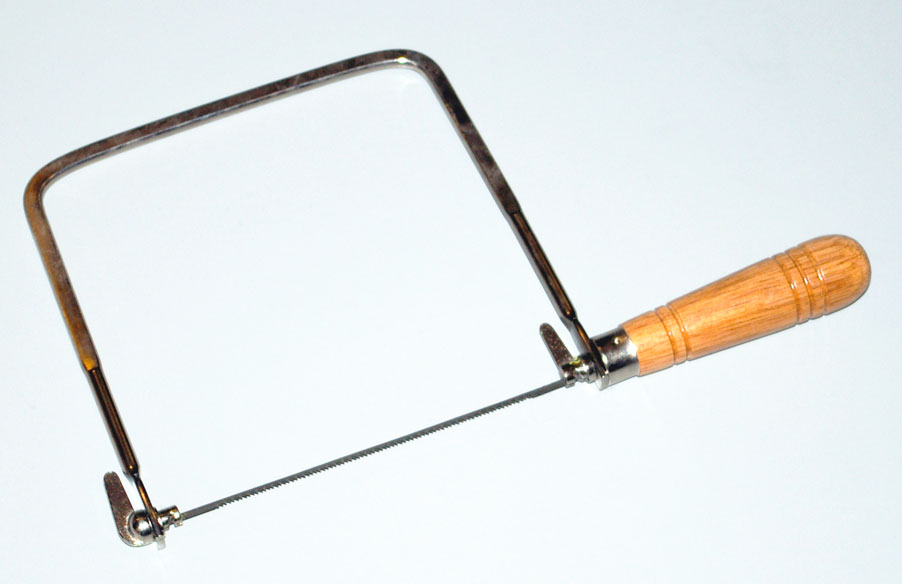
- Coping Saw - The coping saw is used to cut shapes from wood. It has a small and very thin blade whose cutting direction can be pivoted with adjustments built into the handle. These are very useful for complex shapes, but care must be taken to not snap the blades.
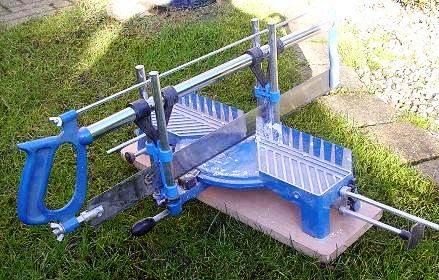
- Mitre Saw - This saw is designed to work with a mitre box to make accurate 90 and 45 degree cuts. These cuts are useful when building frames, applying trim pieces, or anything else with a corner intersection that you desire to not have joined with a flat butting joint.
Use
Align the saw with your mark and start with small and low pressure cutting strokes. Be sure to allow for the kerf (lost material) of the saw when aligning the cut. It is helpful to add a tick mark of the side of the marked line that you plan to cut. Support the workpiece, as a sagging cut section of material can bind the saw and make it difficult to use.
Safety Precautions
There is a significant cut and abrasion risk with saws. Be sure you know that the area below the cut is clear to avoid any accidental encounters with the blade. Also be sure that all fingers are clear and the workpiece is securely clamped before beginning to cut the material.